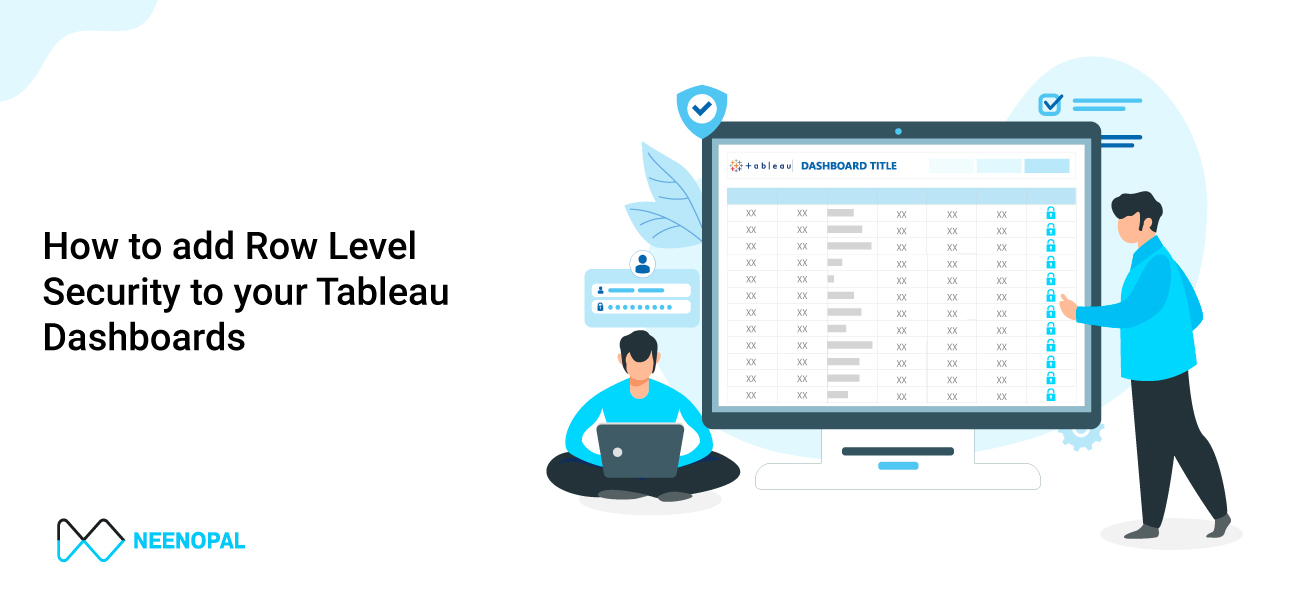
Explainer
Data access restriction is an IT requirement for most companies. For example, a company may want sales managers to view the detailed sales data of their territories only.
An inefficient method used is to publish or share separate reports with each user having limited data. However, with Row Level Security (RLS), administrators can efficiently restrict data based on user permissions through a single report or dashboard.
RLS in Tableau restricts the rows of data users can see in a given workbook or data source when they view the data. This lets you better control what data users see in the published view based on their Tableau server login account.
In simple terms, it means allowing only certain people to view the entire data and everyone else to view only parts of it.
Implementation Steps
The first step to applying RLS is to figure out who your users are and what exactly you want each one of them to have access to.
Let us understand this with the help of the Superstore Dataset.
Assume the store has three user groups:
- The first group is the management stakeholders, who would consist of people who will have access to the whole data (no filtering).
- Second would be the regional store managers, who will only have access to the data of their regions.
- The third group is the Product Managers, and each category has its supervisor.

Once you log into Tableau Online, you'll see a similar sidebar as shown above.
The three groups we described need to be created by clicking the groups option. The users will have all the email ids of the people in the respective groups.
Once we have our user email ids in place and assigned to the correct groups, the next step is to map those email ids to our data and get the information on the row access to provide to users.
Let's say our east regional head's user ID is eastregion@gmail.com, the north regional head's user ID is northregion@gmail.com, a stakeholder's user ID is stholder1@gmail.com, the product manager's ID who is in charge of furniture is furniturepm@gmail.com, and the technology in-charge's ID is techpm@gmail.com
Now, all we need to do is add a user ID column in our data, and against each region and product, we put the corresponding mail and user ids to provide access. The stakeholder's email ids will be in every row since they have access to everything.
You can add three mail ids in 3 different columns and concatenate them in Tableau.
Once we've added the user ids to specific rows, we need to make a calculated field in Tableau to tell it the condition you need to follow and filter out rows when a particular user logs into Tableau online with their user ID.
The calculated field #RLS contains the below calculation:
'CONTAINS(User IDs(backend column),USERNAME())' OR GROUP / ISMEMBER = “STAKEHOLDER”
Next, drag the RLS field to your filters and select 'true'. Now, you can view the data corresponding to the email ID currently used to log into your Tableau.
To check if it's working correctly on the desktop, you can select different users from the dropdown in the bottom-right corner of the Tableau desktop. However, you only get the option if you log in using Tableau online.
(Note: All the users in the three groups we made above will be in this dropdown. You can select any user and see if the RLS is working fine or not).
Thank you for reading. There are other ways to apply RLS as well, for which this link might be a great resource:
https://help.tableau.com/current/server/en-us/rls_bestpractices.htm
Use Cases
- Restricting each Salesperson or Store Manager to see sales and related data of their territory only.
- Restricting each Category Manager to see sales and related data of their category only.
- Restricting each Business Unit head or department to see data of their division only.
RLS Implementation Via Virtual Connection
Virtual Connection in Tableau Server
Performing Row Level Security has become easy since the new Virtual Connection feature in Tableau 2021.4, a new way that promises to simplify management and improve security. However, this feature comes with a cost of Data Management Add-on with extra licensing cost.
So, what does a virtual connection do?
- It works as a centralized data management service that allows you to spread sensitive data with assured high security and freshness.
- Data Policies that allow the creation set of rules that will enable users to share data freely
What Tableau does whenever it needs to create a crosstab or plot a chart, generally, is it hits the database. This could be an excel file or an extract, which will need access to a user account on the database.
To give a smooth user experience, it is normal to utilize a single-user account on the database and implant the login certifications in each published information source. As information source volume develops over time, the work also develops to keep up with these connections.
Virtual connections are concerned with the task of getting information. A single virtual connection contains the user login qualifications to get to the database in a typical oversaw connection that numerous information sources can utilize.

Data Policies
Row-level security refers to restricting access to specific rows of data for specific users. It is often implemented in data sources but may be challenging for data specialists unfamiliar with building security models to master. Virtual connections can provide an intuitive user interface for data specialists to build and test data policies, which they can use with a centralized data connection across multiple data sources.
Creating a Virtual Data Connection
Setting up a virtual data connection is easy – simply follow these steps:
- Click the "New" button from the Tableau Server menu and select "Virtual Connection." This will open up a new window.
- In the new window, select the type of database you want to connect to and enter your login credentials. These can be a username and password or OAuth credentials.
- Once the connection to the database is established, you can choose which tables to make available. For example, you might add an entitlement table that you will use to create a data policy that is not necessary for users to see.
That's all there is to it! A virtual data connection allows you to easily access and work with data from various sources within the Tableau Server.

Data Policy
Data Policy is a set of rules or codes controlling access to specific data rows in a virtual connection. To implement row-level security, you first need to add the table on which you want to apply the security measures. Next, you can write a policy condition using Tableau calculations. This policy condition will return a true or false value and filter the data accordingly.
For example, if you have sales data for four different regions and want to restrict access to this data to only the regional head, not other users, you can write a policy condition like this:
ISMEMBEROF("SalesManager") or USERNAME = [employee_name]
This policy will allow members of the "SalesManager" group to see all rows of data, while other users will only be able to see the records where their username matches the values in the employee_name column. This way, you can ensure that each user only receives the information to which they are entitled.
Entitlement Table
In this example, you want to restrict access to customer order data so that each salesperson can only see orders from customers in their region. You also want to allow two managers to see data from all regions.
To identify who is currently accessing the data, you can use built-in functions in Tableau Server. If your Orders table includes the salesperson's name, you can create a policy (which acts as a filter) using this information. However, it is more common to use an intermediate table -- called an entitlement table -- to map individual users or groups to the data. In this case, the entitlement table has two columns linking each customer to their responsible salesperson. You can then bring this table onto the Entitlement pane and add additional tables with customer numbers to which you can apply the policy.

So we will define a relationship between our entitlements and the data table,

In the above example, we use a policy to filter the data in the entitlement table. If the current user matches the customer name and region specified in the region_entitle column, the policy expression will return true, and all the records in the database will be visible to the user. If the expression returns false, the user will not be able to see the data.
At the bottom of the image, you can see the policy applied to the data. This allows you to test the policy condition before pushing it to the production server, ensuring that only authorized users can access the data.
Some Limitations of Virtual Connection:
- Works with live data only: The source data must be directly linked to the virtual connection.
- Currently not works with the Tableau Accelerator.