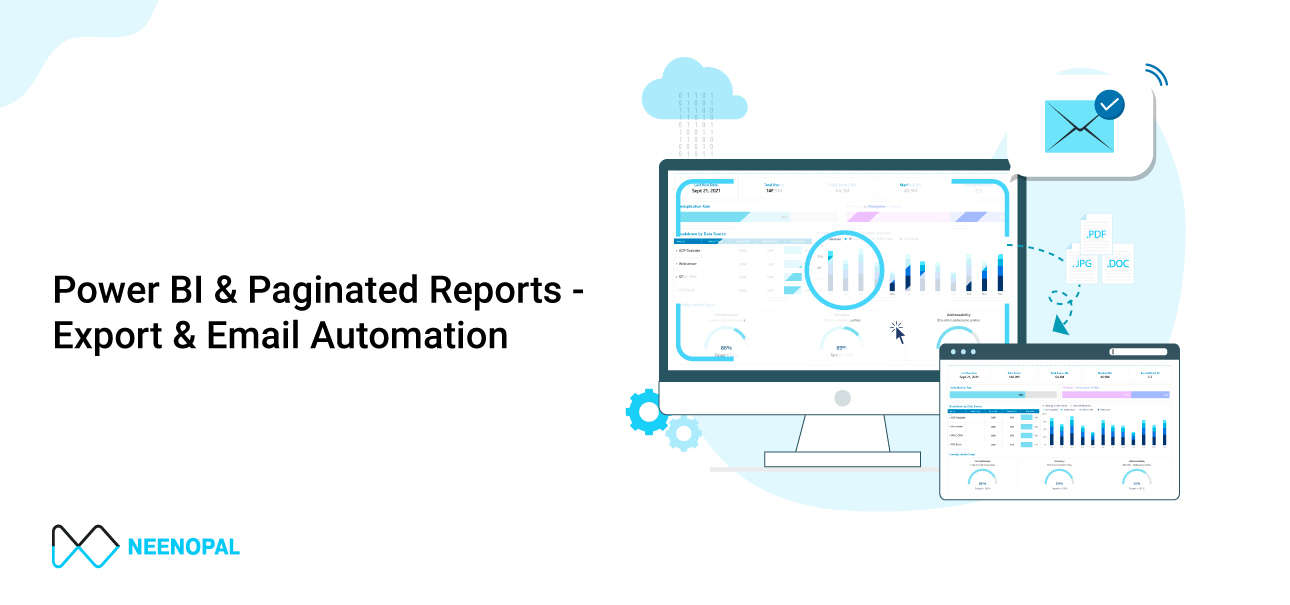
Introduction
After publishing a Power BI report, users may wish to email filtered versions of the report to different users (including 3rd parties as well). For instance, in a scenario where a company needs to send a report to hundreds of clients, each with different filters applied. The traditional method of achieving this involves manually changing filter values in the Power BI report, saving the report as a PDF, and then sharing it via email. However, this approach can be extremely time-consuming and inefficient, especially when you need to send the report on a daily or weekly basis to multiple users!
Following are the available options that one can utilize to automate the above process:
- Power BI Report Screenshot Automation
- Exporting Power BI Paginated Reports
To automate the process of emailing reports to different users, Python can be used to configure an outgoing SMTP mail server. This will enable the automatic mailing of generated PDF reports to the respective users.
The whole process can be integrated using a single Python script which uses Selenium web automation to export reports from Power BI Service and SMTP server to send out emails.
Prerequisites:
- Power BI Service
- Python with Selenium package
- Excel input feed containing filter names, filter values & corresponding email addresses
Power BI Report Screenshot Automation
This method uses Selenium web automation to capture screenshots of Power BI report pages and save them in a PDF file. Each report page published on the Power BI service has a unique URL and can be pre-filtered using query string parameters. Query string parameters are added to the report page URL and used to define multiple filter values.
To change filters using query string parameters, use the following syntax:
DASHBOARD_URL?filter= <table>/ <field> <operator> 'value'
Let's break down what each component of this syntax means:
- DASHBOARD_URL - The URL of the published dashboard you want to filter.
- <table> - The name of the table that contains the column on which you want to apply filters.
- <field> - The name of the column you want to use for filtering.
- <operator> - The operator you want to use to filter the dashboard. For example, ‘eq’ for equals, ‘ne’ for not equals, etc.
- ‘value’ - The filtering value you want to apply.
For example, if you want to filter a dashboard by the name of a customer, you might use the following syntax:
https://app.powerbi.com/xxxxxxxx?filter=Customers/Name='John Doe'
Multiple filters on different fields can be applied by adding ‘and’ to another field in the same format. For example,
https://app.powerbi.com/xxxxxxxx?filter=Customers/Country eq ‘India’ & dimdate/Year eq 2022
For more details, please refer to Power BI Screenshot Automation (neenopal.com)
Exporting Power BI Paginated Reports
A major limitation of the above Screenshot approach is if the report contains a table or matrix visual, the screenshot will only capture the number of rows visible within the visual’s view; if the table contains more rows, users won’t be able to view all of them in the saved PDF file. To overcome this limitation, one can create Paginated Reports.
Paginated reports in Power BI allow users to create and publish pixel-perfect, printable reports that can be formatted well to fit on a page. Paginated reports are created using the Power BI Report Builder tool and can be published to the Power BI service. A Paginated Report can have multiple charts and tables with precise formatting and layout and can be exported into different formats including PDF, XLSX, PPT, DOCX, etc. If the report has a long table, the whole table is exported even if it spans multiple pages. Paginated reports have Report Parameters which are used to filter the report data. The report parameters can be added to the URL by using predefined URL access parameters.
For changing filters using parameters, consider the following URL syntax:
powerbiservicereporturl?rp:parameter=value&rdl:parameter=value
Where,
- powerbiservicereporturl - The Power BI service URL of your paginated report. For example- https://app.powerbi.com/groups/me/rdlreports/xxxxxxxx
- rp or rdl stands for report parameters or report commands respectively.
- Report Parameters (rp:) - These are used to pass the report parameter values, For example- rp:Country=India
- Report Commands (rdl:) - These are used to configure the look and feel of the paginated report and have multiple options.
Options which can be used for the current purpose are:
| Command | Syntax | Description |
|---|---|---|
| Export Format | rdl: format = Value | This command will load the report and automatically start exporting it in the specified format. Formats available- PDF, PPTX, MHTML, IMAGE, EXCELOPENXML, WORDOPENXML, CSV, ACCESSIBLEPDF, XML |
| PDF- Margin Options | rdl: MarginBottom = decimal(in) rdl: MarginLeft = decimal(in) rdl: MarginRight = decimal(in) rdl: MarginTop = decimal(in) | These commands will set the page margins. |
| PDF- Page Size | rdl: PageHeight = decimal(in) rdl: PageWidth = decimal(in) | These commands will set the page size, For example for A4 size- rdl: PageHeight = 11.69 rdl: PageWidth = 8.27 |
| PDF- Start Page or End Page | rdl:StartPage = integer rdl: EndPage = integer | These commands will set the start or end page for the report |
URL parameters in paginated reports in Power BI - Power BI | Microsoft Learn
Python Script Flow steps:
1. Opens Web Browser using Selenium
2. Signs in to Power BI Service
3. Reads the Excel file containing the:
- Screenshot Automation: Email address, filter names & filter values.
- Paginated Report: Email address, parameter name, parameter value.
4. Iterates over each entry in Excel and implement the following steps:
For Screenshot Automation:
- For each report page, create a custom URL by adding filters as query string parameters to the base URL.
- Open each report URL in the browser window, capture a screenshot using Selenium, and save the image.
- Once screenshots for all pages are saved, create a PDF file containing all images.
- Email the generated PDF to the corresponding email address.
For Paginated Report:
- Create a custom URL by adding parameter values(rp) and export format(rdl) as PDF to the base URL.
- Open the URL in the browser window and the report is automatically downloaded to the specified directory.
- Email the generated report to the corresponding email address.
Scheduling
The user may want to send the generated reports via email on a weekly or monthly basis. To achieve this, the whole automation flow can be scheduled on a fixed frequency and time using Windows Task Scheduler.
1. Steps for setting up a scheduled job using Task Scheduler:
2. Open Task Scheduler and click on “Create a new Task”.
3. In the General Tab, enter the job Name and Description
4. To set a trigger to set frequency and execute the job on a fixed schedule:
- Go to the Triggers Tab
- Click New
- Select Frequency (One Time, Daily, Weekly, Monthly)
- Set up Time
- Click OK

5. To set up Action to execute the Automation Script:
- Go to the Actions Tab
- Click New
- Enter the path of the Python installation (python.exe) of your system in the Program/Script box
- Enter the path of the automation Python script file in the Add Arguments field.
- Enter the path of the working directory in the Start in Field.
- Click OK

Note - If more emails need to be added or if any filters need to be changed in the Excel input feed then the Excel file needs to be updated before the Scheduled time. In that scenario, it’s better to manually trigger the script.